How to create a cityscape illustration in sketch
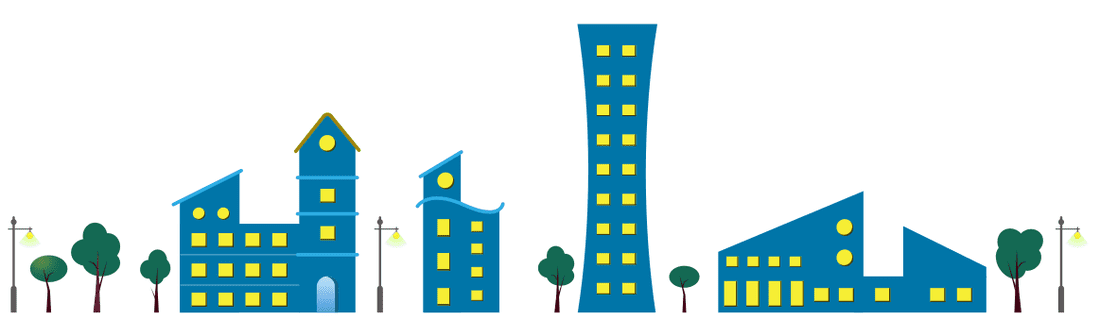
In this tutorial I will show you how to create a flat style cityscape illustration like the one below in sketch app
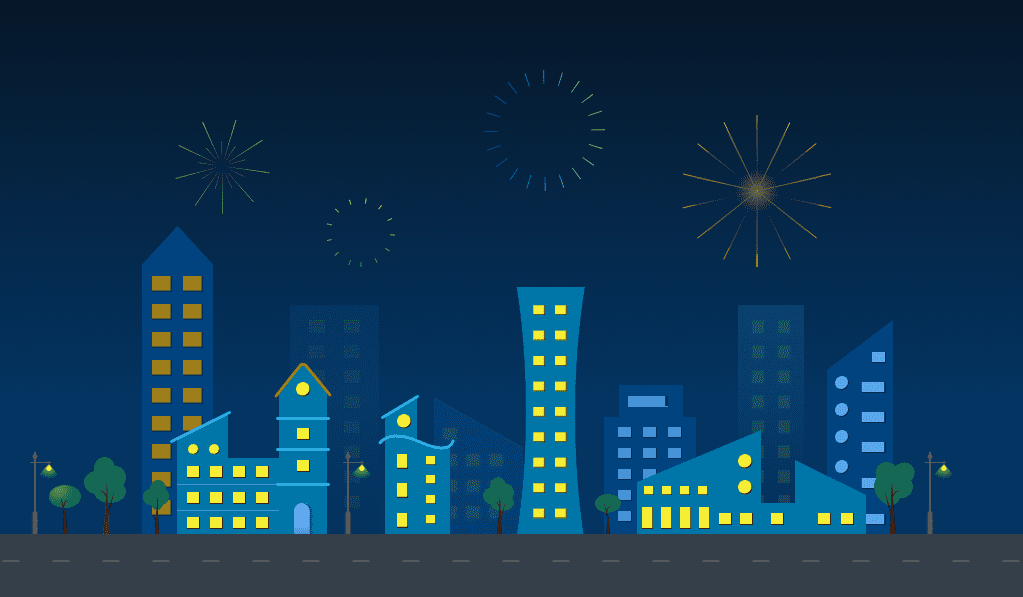
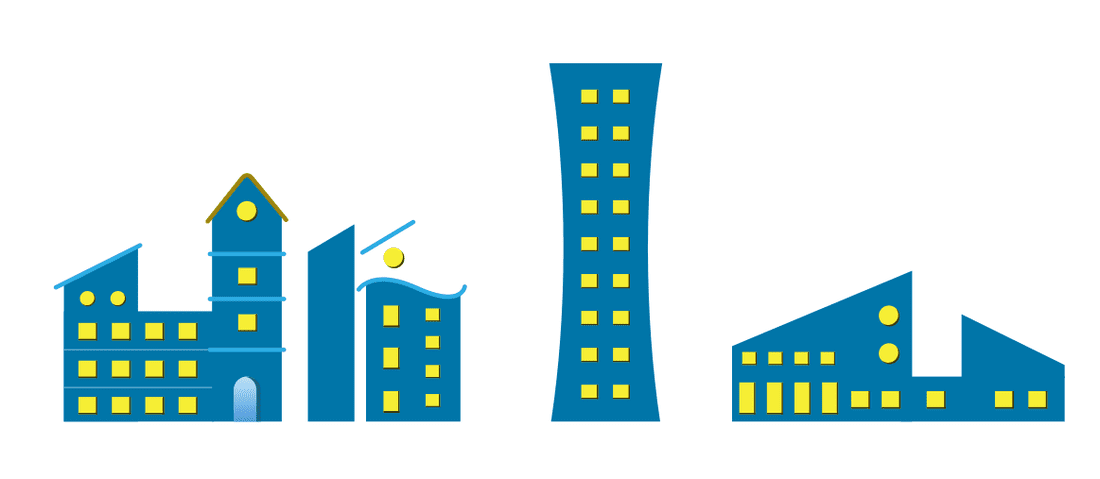
Finished Illustration
I have made my switch to sketch 2 years ago and I never looked back, If you already know the basics of illustrator then sketch is easy to adapt. Its tailor made for UI design but it is getting updated frequently and every time they are adding more and more features. and fixing more bugs (hopefully).
While working on a mobile app or a web design project, as a UI designer you may need to design simple illustrations and empty state designs for the project and I usually use illustrator for advanced vector editing but many of these simple illustrations are pretty easy to do in sketch.
Here I will show you how to create such illustrations entirely in sketch step by step. lets get statrted!
Step 1 - Planning
Like any design, proper planning before execution is key. I usually do some rough sketch of my concept in an A4 sheet to understand the layout and composition before starting out with sketch app. here I have attached some files to show you what my sketches look like. and Its not compulsory to follow this step, its just rather a personal choice :)
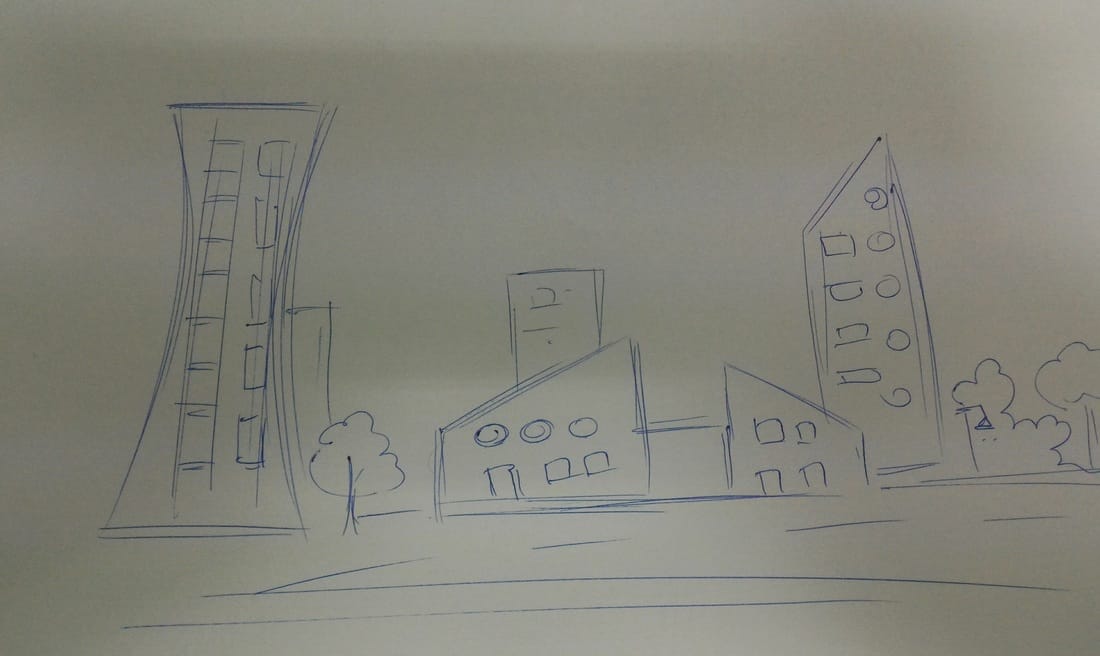
Rough Sketch-1
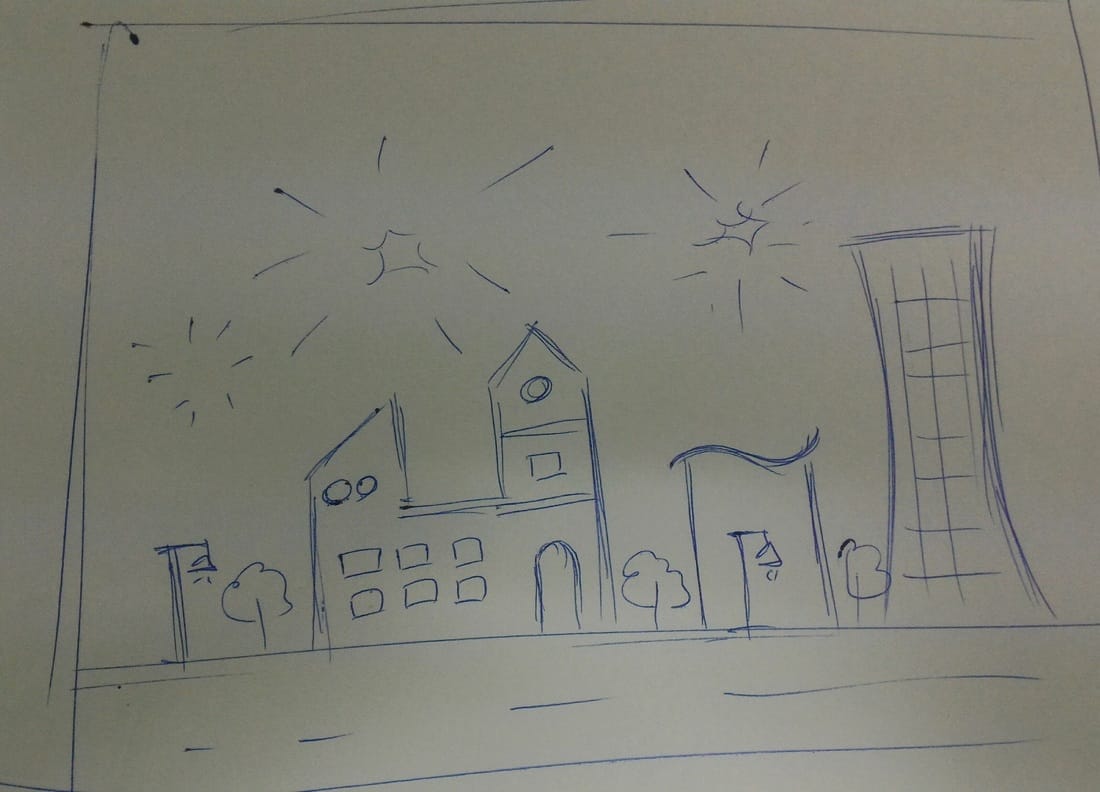
Rough_Sketch_2
Step -2 Creating basic shapes in sketch
Start by creating a new document in sketch and create an artboard of 1023px width and 597px height.
We can create almost any shape of a building with rectangles triangles and circles. and the custom shapes can be dodged by basic boolean operations in sketch which is same as in illustrator (path finder tool)
We can create almost any shape of a building with rectangles triangles and circles. and the custom shapes can be dodged by basic boolean operations in sketch which is same as in illustrator (path finder tool)
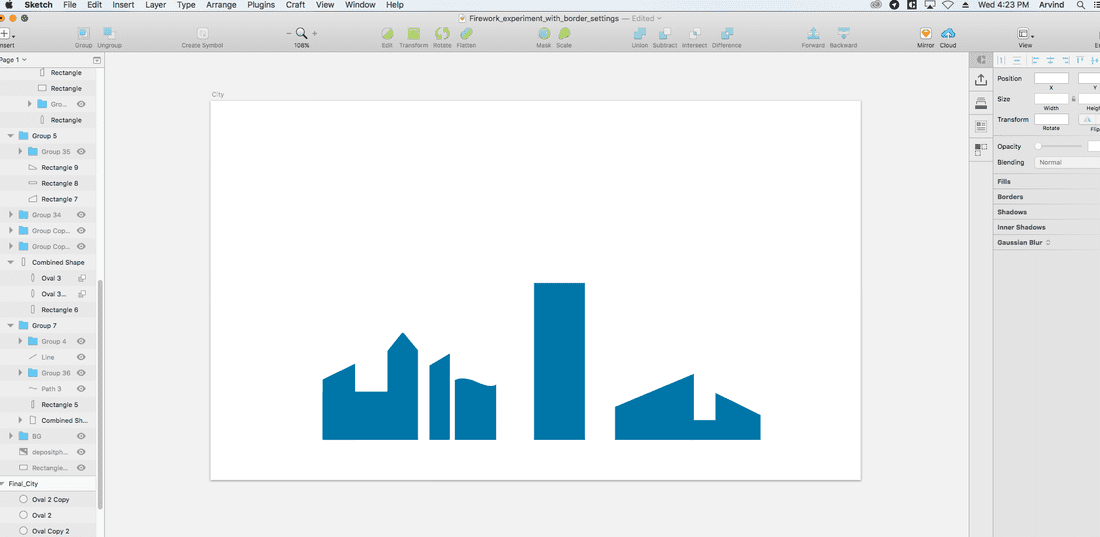
Basic building shapes using default shapes
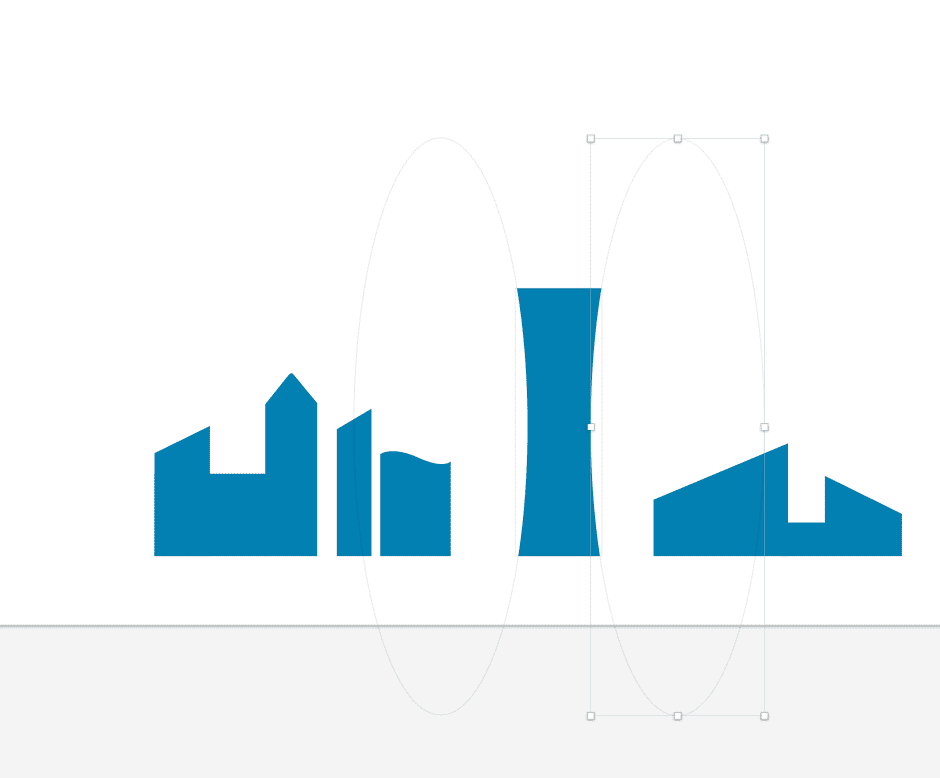
creating custom shape by subtract method (boolean operation)
Step -3 Adding details to buildings
Once you got the basic shapes laid out, you can start adding the detials on the building such as windows doors etc. these details are the combinations of rectangles, squares and circles. so nothing fancy here.
create a window shape using rectangles and group it and then just duplicate it across the shape evenly!
create a window shape using rectangles and group it and then just duplicate it across the shape evenly!
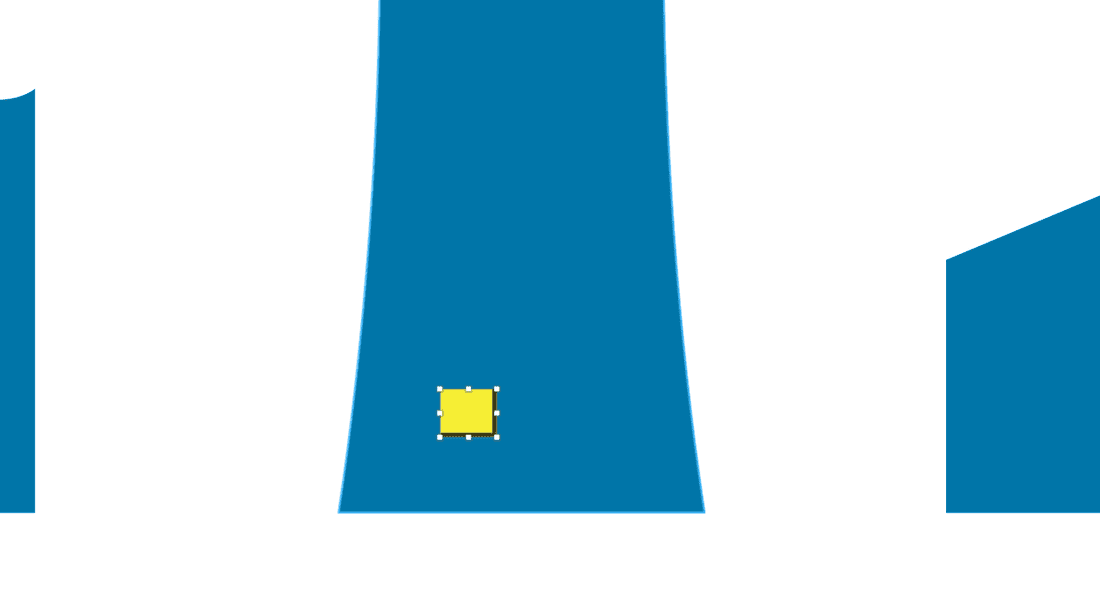

Once you create a window/door etc, hold option key and click and drag to the desired distance and then press command + D to repeat the process
Add more details by using line tool and border properties
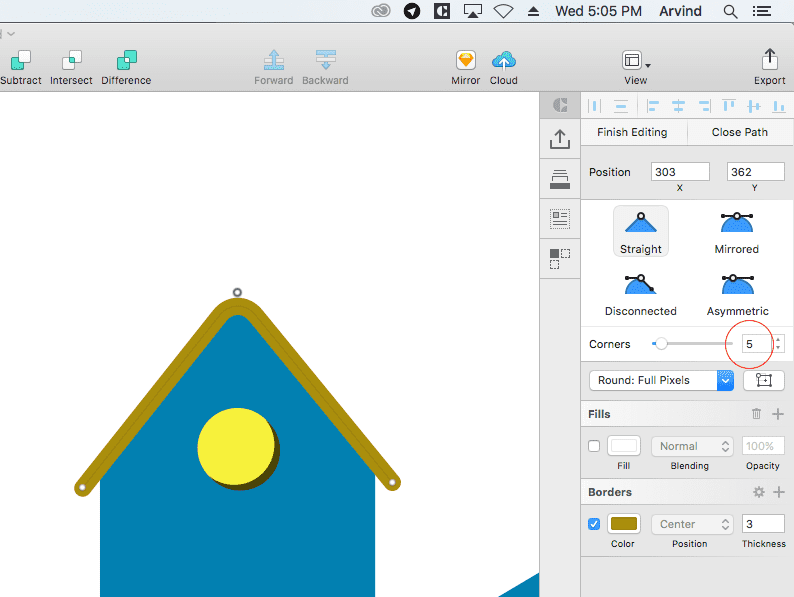
Perfect curvy corners can be achieved easily, first you have to select the line and press return key or edit button in sketch or double click on the line. and then select the point you want rounded corners and increase the value of corners (marked in red circle) once you are done with the editing just press escape key or click out side or enter return key again.
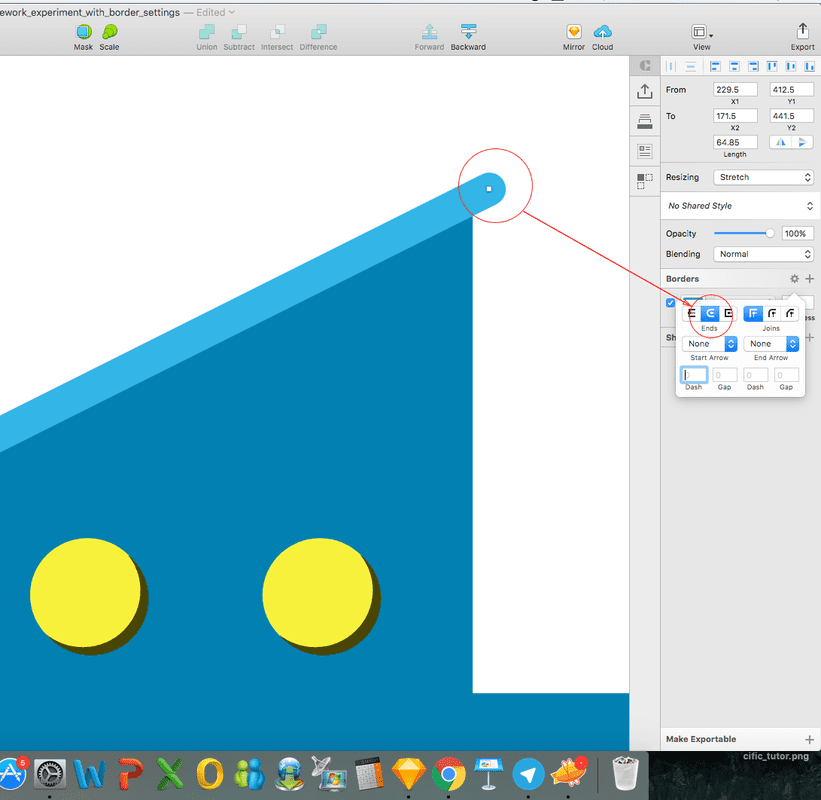
To get rounded tip on line-ends make sure you select the right preference in border properties popup
Step -4 Tree design
Trees are again a combination of default shapes, you can group or combine circles to form the leaves part and polygonal shapes will make up the trunk.
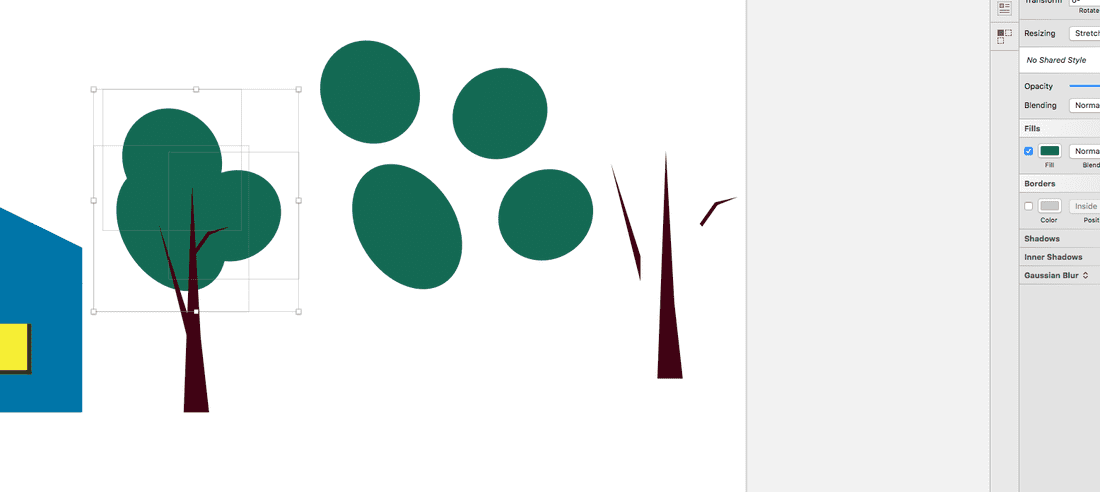

Finished Trees
Step -5 Designing lamp post
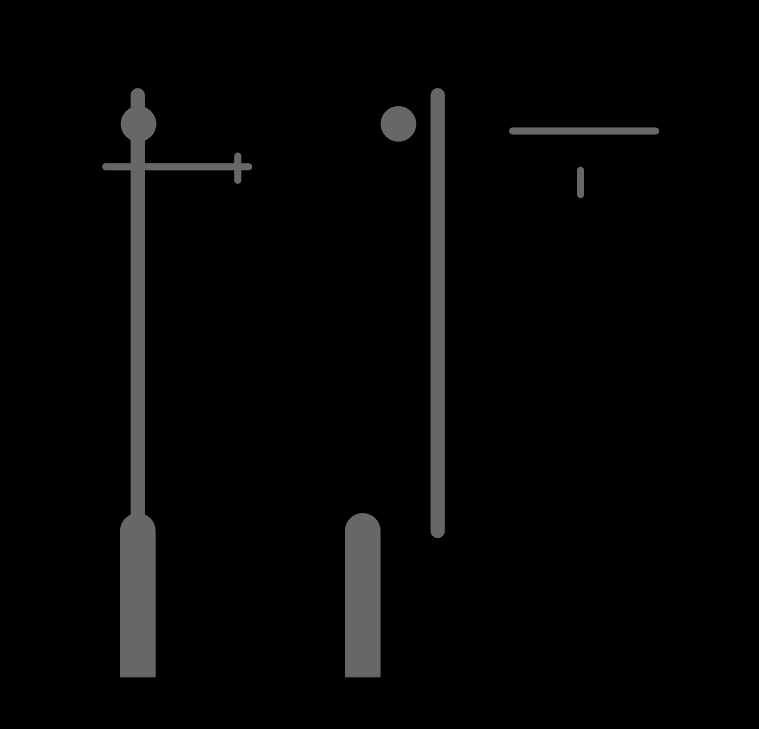
basic shape of the lamp post structure can be achieved by lines of different width and squares and circles
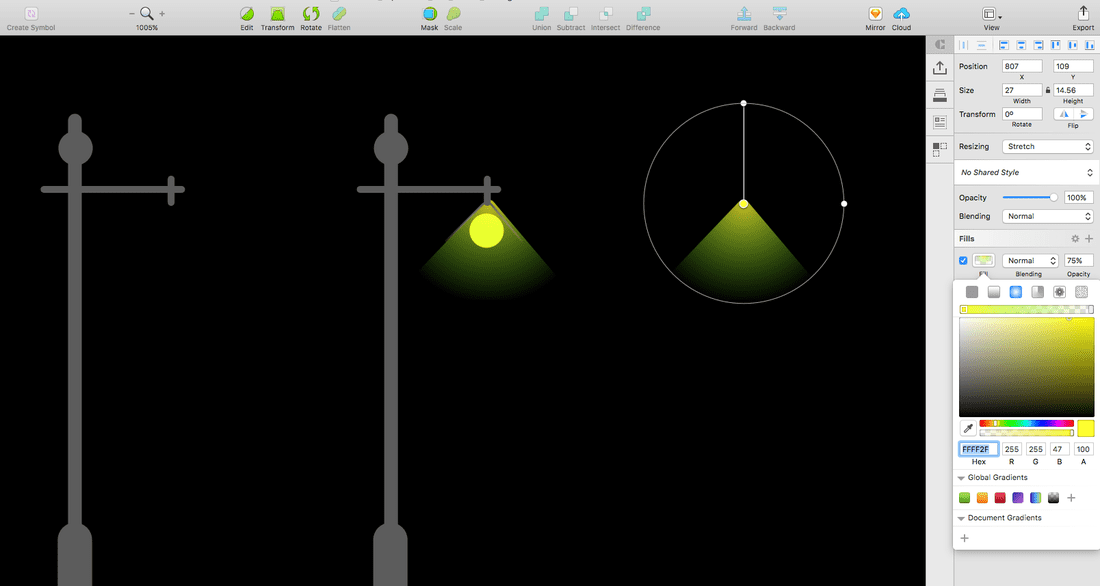
To get the light effect, insert a triangle then fill it with a gradient with alpha zero on one end and change the color to yellow, make sure you move the gradient source point to the top of the triangle and then add a yellow circle as the light source and the light effect is ready !
finished lamp posts
Step -6 Add background night sky

Insert a square and make it cover the entire artboard, then fill it with a gradient with color value of #061728 and #043462 and make sure the darker gradient is on top. then keep it behind all other layers and lock it. your sky is ready :)
Step -7 Adding background buildings

Create buildings like the way I mentioned in step-2 & 3 then place them behind the foreground buildings then reduce the opacity in order to create the depth
Step -8 Creating fireworks effect
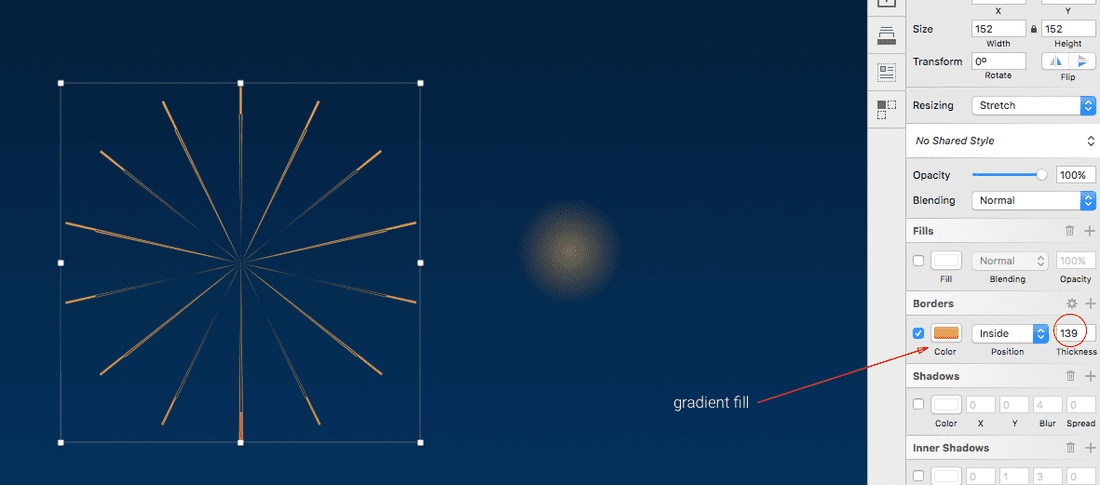
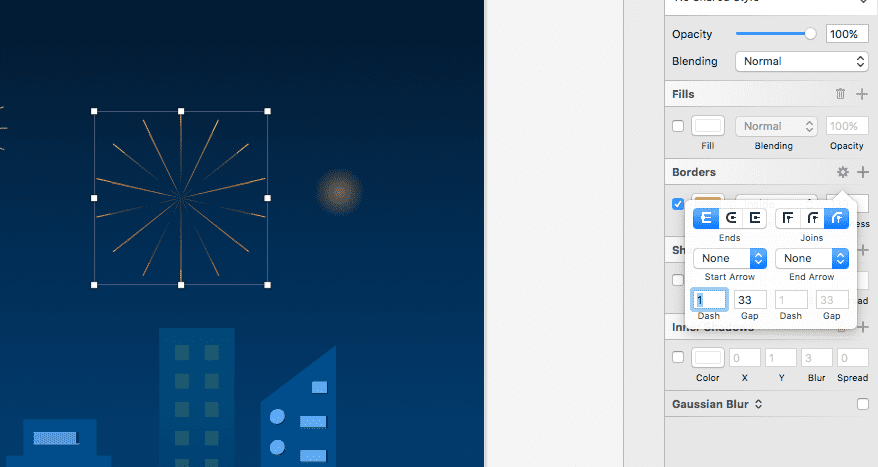
Insert a circle, remove the fill and then add a thickness value of 139 and then change the color of the border to a gradient fill and make sure the position of the border is 'inside' in positions dropdown. after that click on the settings icon on borders tab and access the hidden border properties. in the settings select the first option for the 'Ends' (Image Included) and play with the values of dashes and gaps. I have included the images that shows the values I used to get the effect but you can always experiment and get your own custom effects.
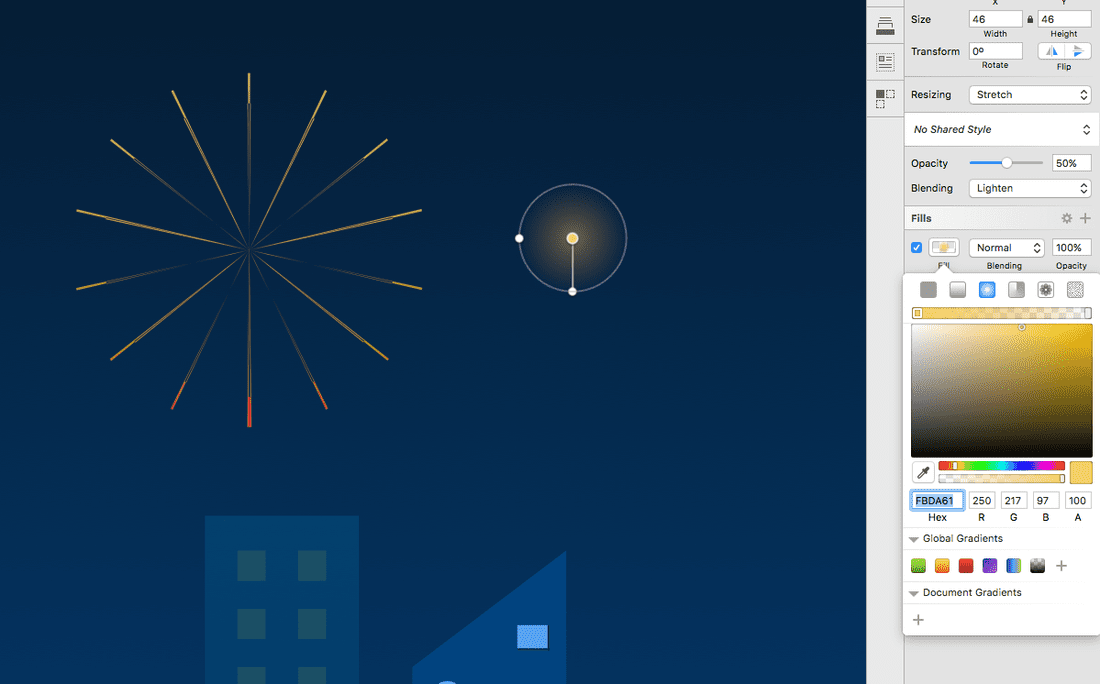
Values for the glow effect in the middle of the firework
Step -9 Final touch
Different fireworks effect you see below are just the variations of gaps and dash valuse and colors, so after that finish the work by adding road in the bottom and your artwork is ready !

Finished Illustration
I hope you learned something new from this tutorial, Thank you for the visit :)
 RSS Feed
